When I first thought, “Hey, we should put solar panels on top of the RV!” I thought it was as easy as that… just slap some solar panels on top and use the power of the sun! Boy was I wrong!
The list of what you need to successfully instal a solar set up was pretty long! And it was a process to figure it all out. SO, to help other people who are in this same search of “what to do when it comes to solar” I figured I would share what is working for us.
Here is the list of what you will need:
- Solar Panels
- Batteries
- Charge controller (Sun Charger 30)
- 30′ of 8/2 Cable
- 30′ of 10/2 Cable
- 40 Amp In-Line Maxi Fuse (used between positive solar wire and battery positive post)
- 8 ga. Copper Lug (used between negative solar wire and battery negative post)
- Wire Ties (to secure cable along its route from the combiner box to batteries)
- Roof Combiner Box
- DiCor Sealant
- 3M VHB tape
- Solar mounting brackets
- 2000 W pure sine wave inverter
It’s a lot, huh?!
Batteries. There is so much information out there on what batteries to use on your RV/van setup. Most of the advice is to use a “true deep cycle” battery. An example of this is a golf cart battery. We didn’t do this. The main reason is – we already had a deep cycle 12 Volt marine battery. SO, instead of mixing and matching, we got another 12 volt marine battery and we will go with that. I think it will do just fine.
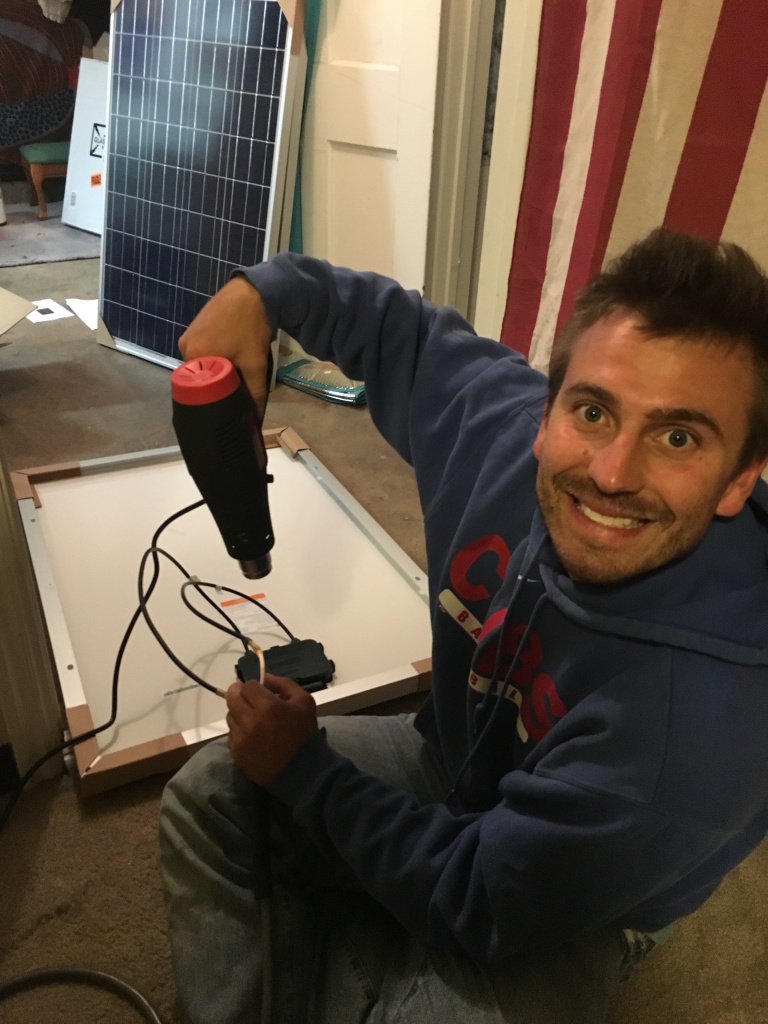
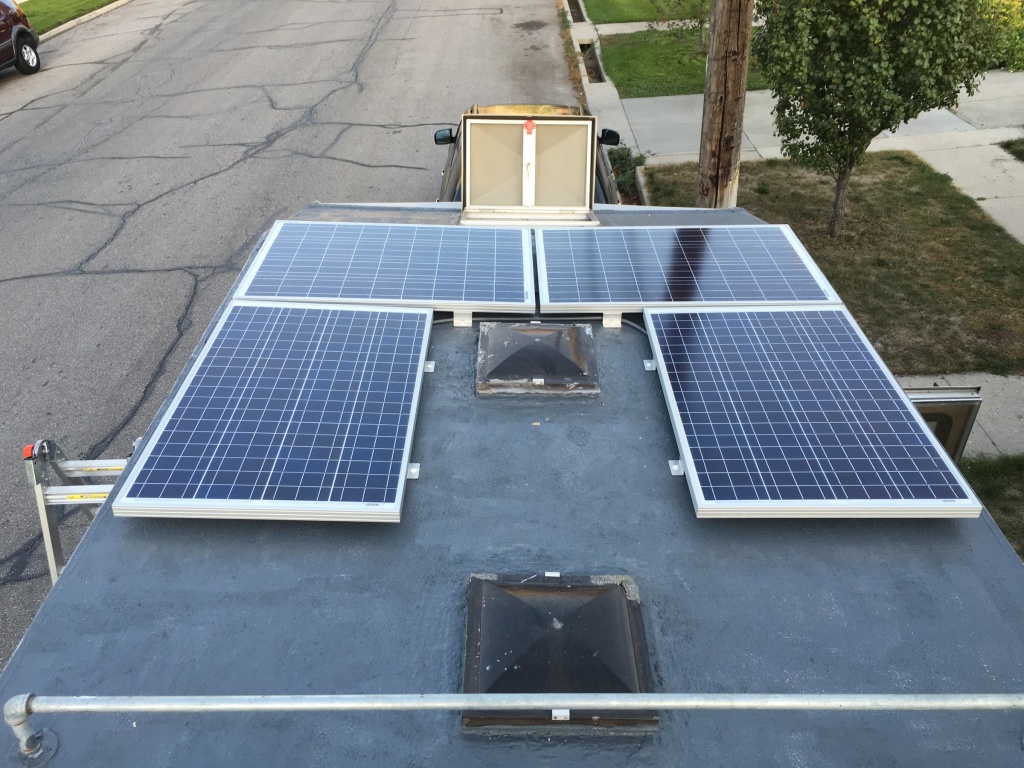
Getting the panels ready for the roof was a good project. I got my panels from Grape Solar. These panels come standard with MC4 connectors. These connectors aren’t super ideal for laying down on top of the roof, so (with the help from some good friends – shout out to James Pooley and Sterling Hofman) I lopped the wires off and put on my own output cables. The tough part of this was making sure we had the right length of wire going on all of these panels to reach the combiner box. But once we got those measurements all figured out, it wasn’t all that bad.
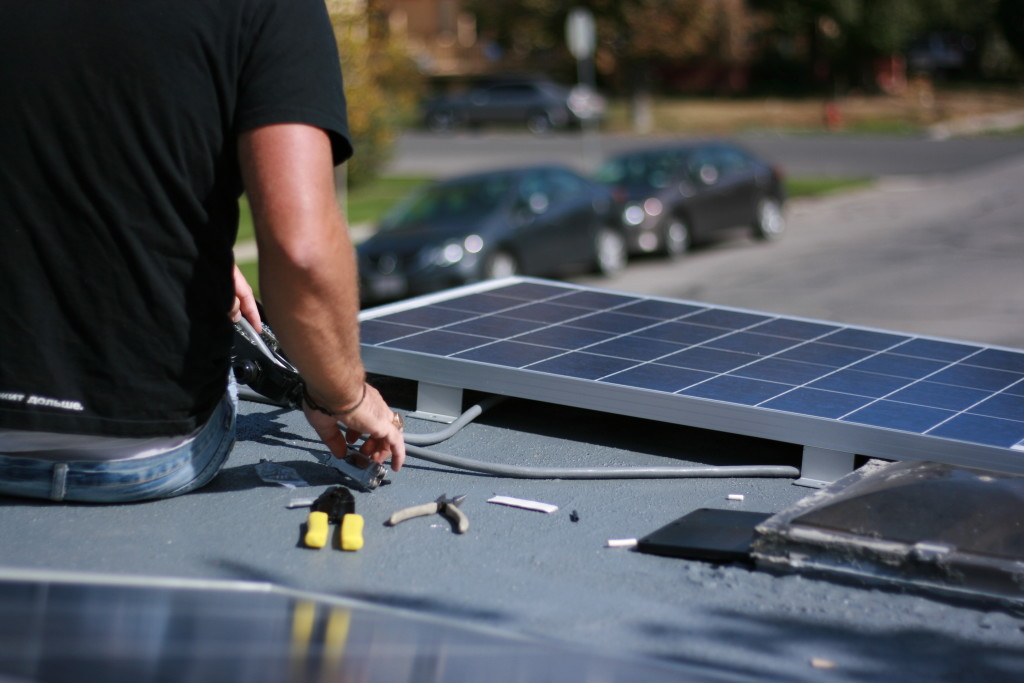
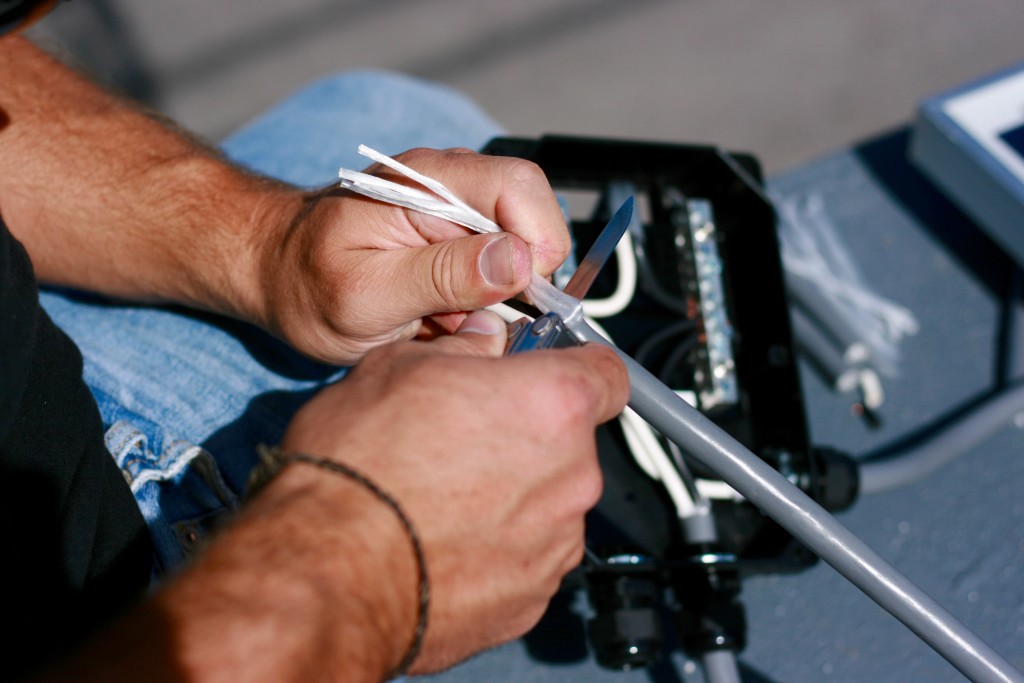
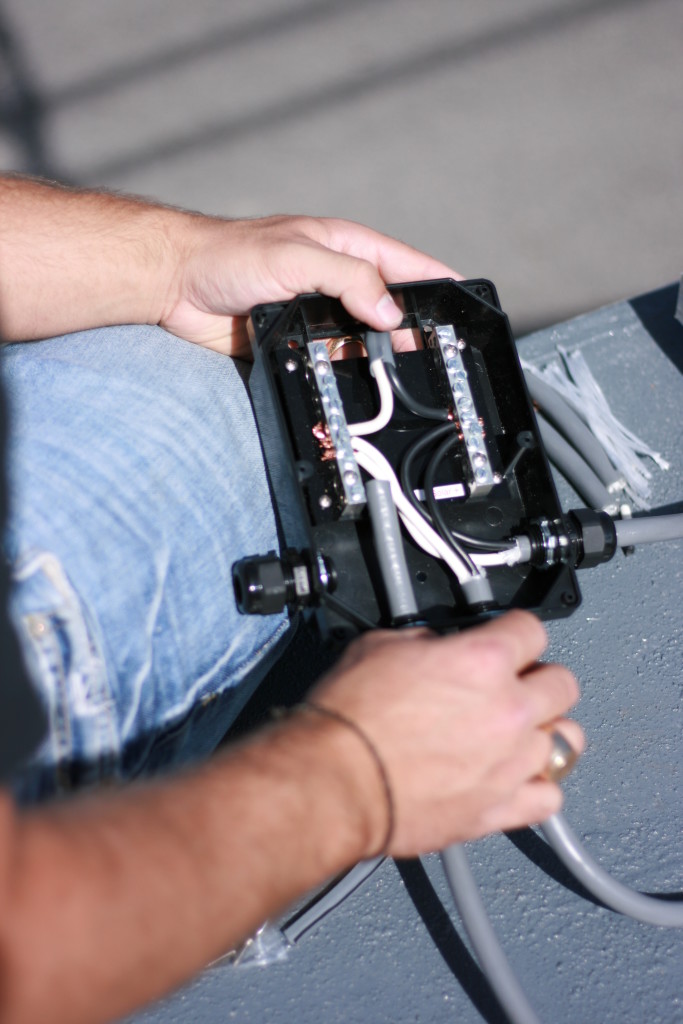
With the new output cables on there, it was mellow to lay the panels down on the roof and bring them all into the combiner box.
Mounting the panels was quite easy as well. I used the 3M VHB tape on the bottom of mounting brackets. I know – it sounds crazy to think that only a bit of tape is holding the solar panels on the roof. Yeah, I thought so too… SO, I doubled down and put a screw with a dab of dicor on the threads and head to secure it a little more. BUT, technically you can just use the tape. It is more of a mental thing to have the screw in there though.
After mounting the panels and bringing all of the output cables into the combiner box I drilled a hole through the roof and ran a single cable through the cabinets and down into the charge controller. Then from the charge controller straight into the battery bank.
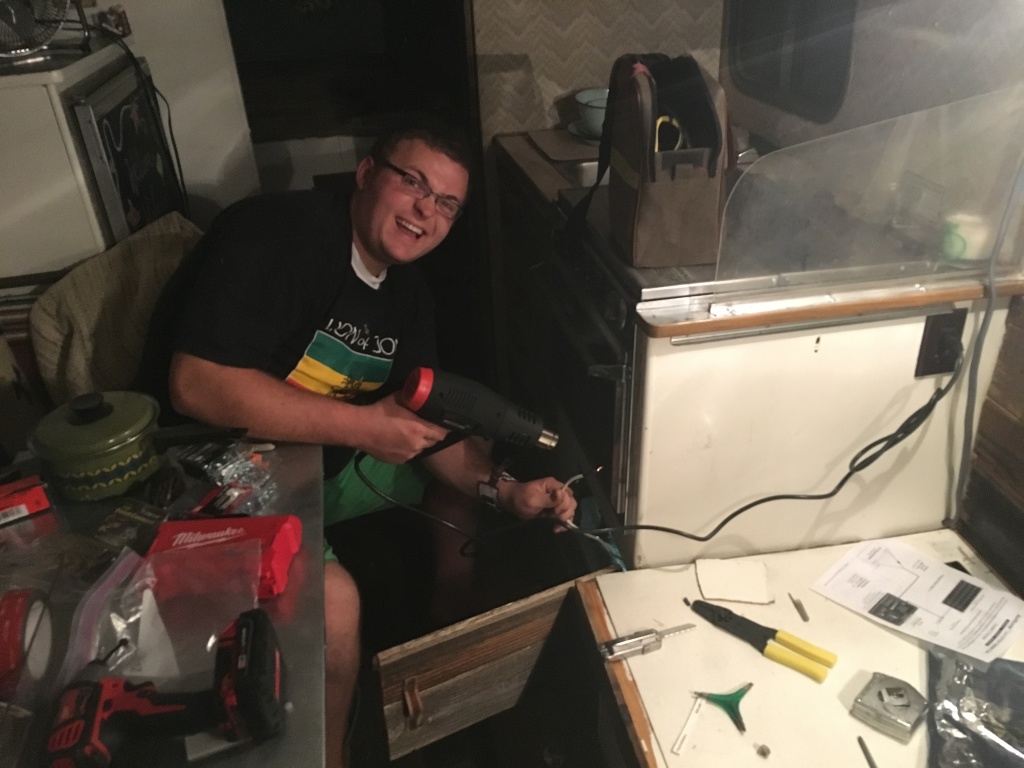
Working in the small compartment that we have the two batteries in was really frustrating. I’m just glad that part is behind me now.
All in all, it was WAY MORE WORK than I thought it would be to get our rig solar ready. BUT, we now have a working solar system on Our Vie! Right now we are only using it for our 12 V devices… like our lights and our water pump. Stay tuned for our next post on the inverter and how it will work to power our outlets!

You guys are awesome!
I’d never have the interest or patience for such a project.
Kudos to you!
Can I hitch a ride with you when we all have to trek back to Missouri?
I love little Gorby. Too bad kittens grow up and become cats. Ha ha?
Just a few weeks left of school. Enjoy!
Scotty dog! Thank you! Yes, you can for sure come with us on any part of the journey! I can’t wait for you to meet little Gorby snd hopefully he stays cute even as a cat!
Thanks Sister King! We are in it for the long haul – no matter how long it takes! Thanks for the support!!